A gel manicure may look simple from the outside, but correct curing is one of the most important parts of the service. Even when the nails are prepared properly and high-quality products are used, incorrect lamp technique can lead to wrinkling, peeling, dull patches or uneven colour.
Many curing problems happen because the gel layer is too thick, the lamp is unsuitable or the client’s hand is positioned incorrectly. Understanding these mistakes helps nail technicians create smoother, longer-lasting results while reducing the need for repairs.
Applying Gel Layers Too Thickly
One of the most common causes of wrinkling is applying too much product in a single coat. Gel polish must be cured by light passing through the layer. When the application is too thick, the surface may harden while the product underneath remains soft.
This can cause the colour to wrinkle, move or peel shortly after the service. Dark and highly pigmented shades are particularly sensitive because they allow less light to pass through.
Technicians should apply thin, controlled layers rather than trying to achieve full coverage in one coat. Two or three light coats usually cure more reliably than one heavy layer.
Using Gel Polish Kodi With the Correct Technique
When applying Gel Polish Kodi, the brush should carry enough product to cover the nail without flooding the cuticle area. The first coat may appear slightly transparent, but this is normal.
The technician should focus on creating an even layer from the cuticle to the free edge. Excess product should be removed from the brush before application, especially when working on small nail plates.
Each layer should be cured separately according to the recommended time. Rushing the process or applying the second coat before the first has cured properly can trap uncured material between layers.
Choosing the Wrong Lamp
Not every lamp cures every gel product in the same way. Lamps differ in wavelength, power and bulb condition. A lamp may switch on normally but still fail to provide the correct curing performance.
Using a lamp that is not compatible with the product can result in soft layers, loss of shine or premature peeling. Older lamps may also become less effective over time, particularly if bulbs or internal components are worn.
Technicians should follow the manufacturer’s curing guidance and avoid assuming that a higher wattage automatically means better curing. Compatibility is more important than wattage alone.
Incorrect Hand Positioning
Even when the correct lamp is used, poor hand positioning can create uneven results. If the thumb is turned inward, the side of the nail may not receive enough light. This can leave the gel soft or cause it to pull away from the surface.
Clients should place their hands flat inside the lamp, with the fingers straight and separated slightly. Thumbs may need to be cured separately, particularly when the lamp design does not expose them evenly.
The technician should check the client’s position before each curing cycle instead of assuming the hand is correctly placed.
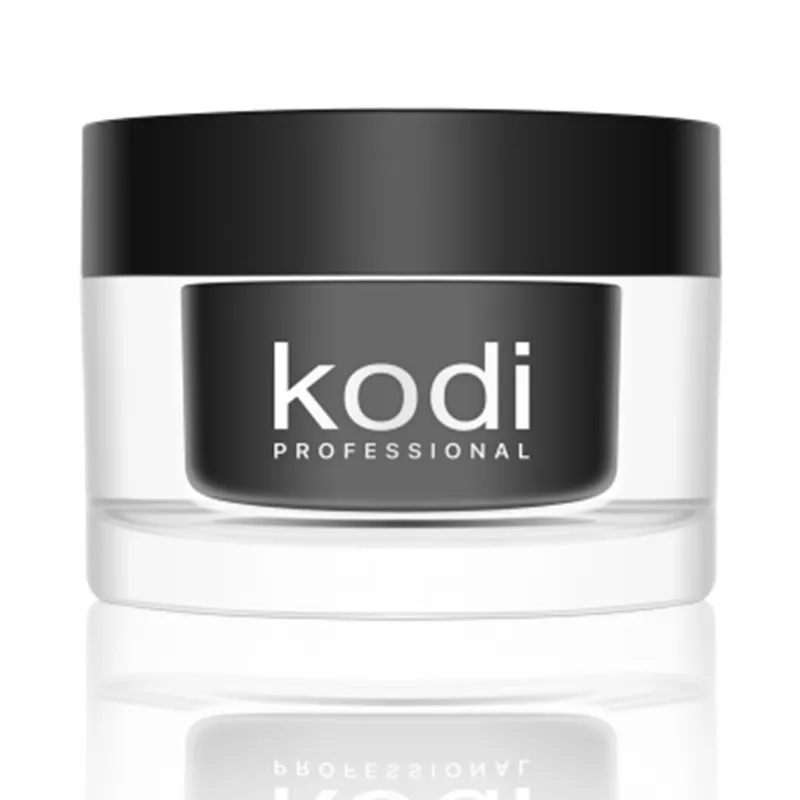
Curing Kodi Base UV Gel Properly
The base layer creates the foundation for the rest of the manicure. Incorrect curing at this stage can affect every layer applied above it.
When using Kodi Base UV Gel, the technician should apply a controlled amount and avoid allowing the product to collect around the sidewalls or cuticle. A thick base layer may feel firm on top while remaining under-cured underneath.
If extra structure is needed, the product should be built gradually. The nail should also be checked from different angles to make sure the layer is even before curing.
Correct base curing helps the colour adhere more evenly and reduces the likelihood of lifting from the nail plate.
Removing the Hand Too Early
Some clients remove their hands before the lamp cycle finishes, particularly if they feel warmth or discomfort. This can interrupt the curing process and leave the gel partially hardened.
A mild warming sensation may occur when thicker gel layers cure, but strong heat can indicate that too much product has been applied. The client should not be encouraged to tolerate painful heat.
Instead, the technician should use thinner layers or allow the client to briefly place the hand near the lamp entrance before moving it fully inside. This can reduce discomfort without compromising the entire curing cycle.
Failing to Cap the Free Edge
The free edge is one of the first areas where chipping and peeling appear. If the colour and top coat are not applied carefully along the edge, water and daily impact can affect the manicure more quickly.
Capping should be done with a small amount of product. Applying too much gel along the edge can create thickness and uneven curing.
The goal is to create a light seal rather than a visible ridge.
Ignoring Product Contamination
Dust, oil or cleanser residue can also interfere with curing and adhesion. If particles remain on the nail, they may create bumps or weak areas beneath the gel.
Brushes and bottles should be kept clean, and gel products should not be exposed to direct sunlight or lamp light during the service. Accidental light exposure may begin curing the product inside the bottle or on the brush, affecting its texture.
Conclusion
Wrinkling, peeling and uneven colour are often linked to application and curing mistakes rather than the gel product itself. Thin layers, correct lamp compatibility, proper hand placement and careful timing all contribute to a smooth and durable finish.
Professionals can explore gel colours, bases and related manicure products at kodiprofessional.com. However, consistent results depend on combining suitable products with accurate application, correct curing and proper client positioning throughout the service.
